Before

After

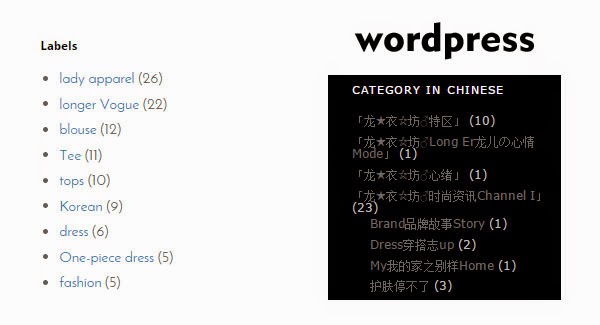
Drop down menu can be created in different themes and format. It includes 2 parts, structure (html) and style (css).
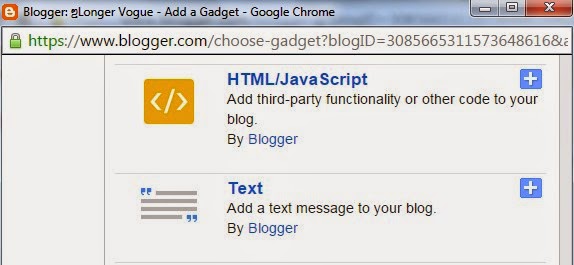
Layout -> Add a new HTML/Javascript and paste the following code (suppose you add on top menu)
| <!-- drop down menu --> <div id="navigationbar"> <ul id='cssnav'> <li class="active"><a href=''>Home</a></li> <li class="sub"><a href='http://longervogue.com'>Product Show Room</a> <ul> <li><a href='link'>sub-tab A</a></li> <li><a href='link'>sub-tab B</a></li> </ul> </li> <li class="sub"><a href='http://longervogue.wordpress.com'>Vogue Design</a> <ul> <li><a href='link'>sub-tab C</a></li> <li><a href='link'>sub-tab D</a></li> </ul> </li> <!-- ADD MORE CATEGORIES OR LINKS HERE --> <li class="last"><a href='link'>Contact</a></li> </ul> </div> <!-- end --> |
By adding </ul> and </li> you may add more tab and sub-tab.
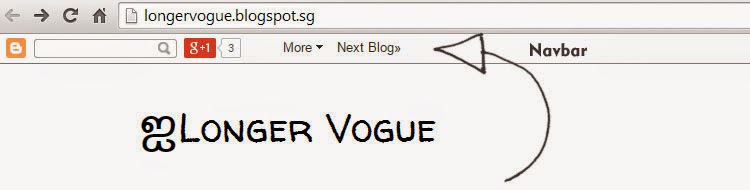
After save this html, you will see the structure of drop down menu in your blogger. Now we need some css to make it look normal.
In other tutorials, you maybe asked to look for this ]]>) comment in customized html to add some coding before it. While in current version of blogger, you just need to add some customized css without touching any source code.

Template -> Customize -> Advanced -> Add CSS and paste the code below
| /* ----- dropdown CSS ----- */ #cssnav { border: 0px; margin: 0px; padding: 0px; width: auto; font: $(tabs.font); /* Template Designer - Change Font Type, Size, Etc */ color: $(tabs.text.color); /* Template Designer - Change Font Size */ } #cssnav ul { background: $(tabs.background.color); /* Template Designer - Change Menu Background */ height: 40px; /* Change Height of Menu */ list-style: none; margin: 0px; padding: 0px; } #cssnav li { float: none; display: inline-block; padding: 0px; } #cssnav li a { background: $(tabs.background.color); /* Template Designer - Change Menu Background */ display: block; margin: 0px; text-align: center; font: $(tabs.font); /* Template Designer - Change Font Type, Size, Etc */ text-decoration: none; } #cssnav > ul > li > a { color: $(tabs.text.color); /* Template Designer - Change Font Color */ } #cssnav ul ul a { color: $(tabs.text.color); /* Template Designer - Change Color */ } #cssnav li > a:hover, #cssnav ul li:hover { color: $(tabs.selected.text.color); /* Template Designer - Change Font Color on Hover */ background-color: $(tabs.selected.background.color); /* Template Designer - Change Font Background on Hover */ text-decoration: none; } #cssnav li ul { background: $(tabs.background.color); /* Template Designer - Change Menu Background */ display: none; height: auto; padding: 0px; margin: 0px; border: 0px; position: absolute; width: 200px; /* Change Width Of DropDown Menu */ z-index:9999; } #cssnav li:hover ul { display: block; } #cssnav li li { background: $(tabs.background.color); /* Template Designer - Change Background */ display: block; float: none; margin: 0px; padding: 0px; width: 200px; /* Change Width Of DropDown Menu */ } #cssnav li:hover li a { background: #FFFFFF; /* Template Designer - Change Background of Link on Hover */ } #cssnav li ul a { display: block; height: auto; margin: 0px; padding: 10px; text-align: left; } #cssnav li ul a:hover, #cssnav li ul li:hover > a { color: $(tabs.selected.text.color); /* Template Designer - Change Text Color on Hover */ background-color: $(tabs.selected.background.color); /* Template Designer - Change Background on Hover */ border: 0px; text-decoration: none; } /* ----- end ----- */ |
You may play with these font style, color, height, and width to customized your own drop down menu now.